Setup your Git on Windows
Github provides two of installation, one the GitHub Desktop and command line by installing Git Software in your system. Personally from a developer perspective i would suggest you to use the command line as this will come in handy and more flexibility in terms of solving bugs and do more with version control, especially when the conflicts happens with the Git. This tutorial is focused on the command line version.
Step 1: Let’s Download the git
-
Go to the Git Website and click on download for windows button.
https://git-scm.com/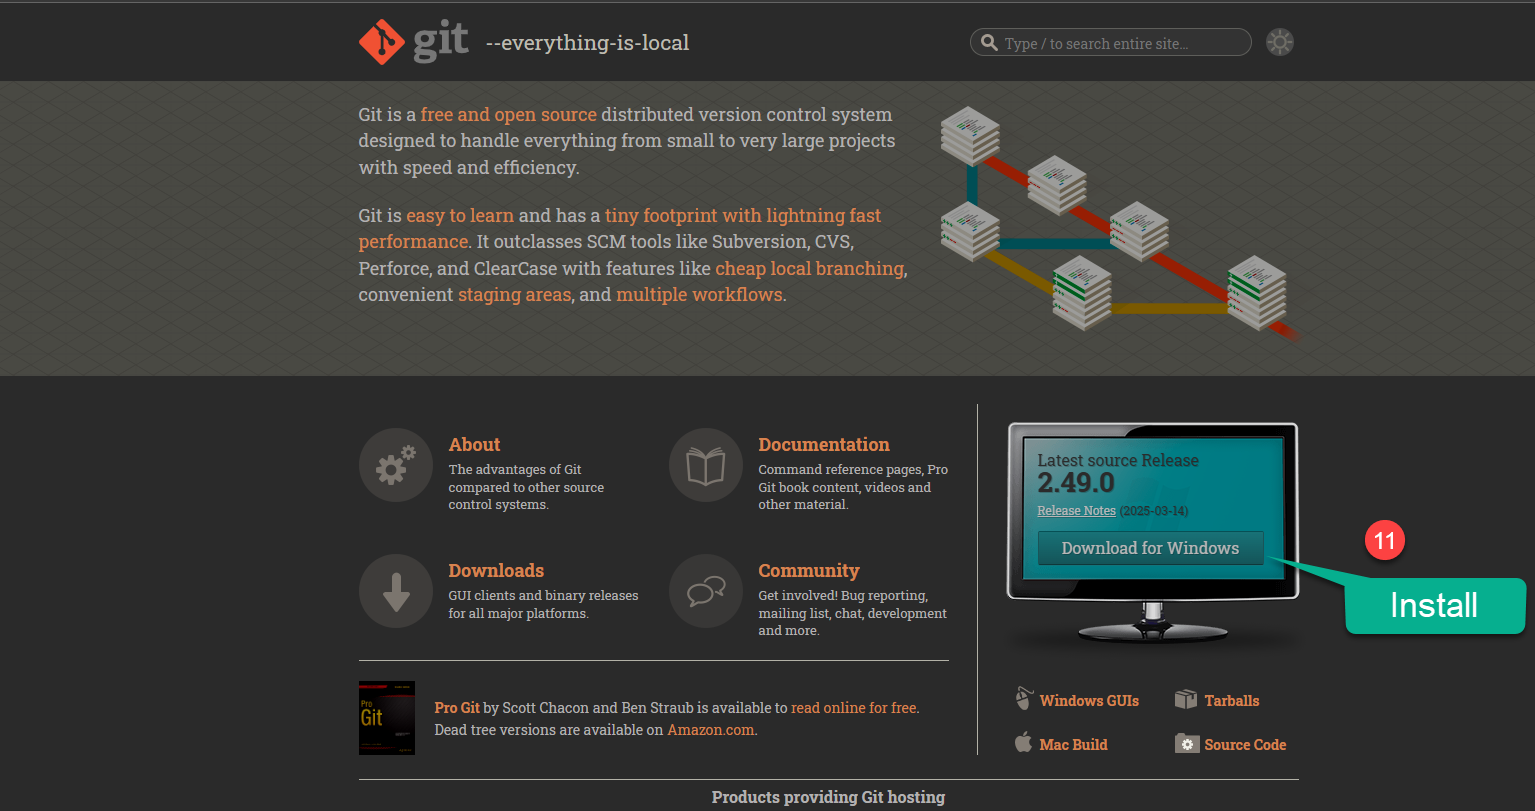
Step 2: Select your Version you want to install.
-
Get your Installer:
Based on the current version of windows you can choose to have standalone installer or windows insaller to get started with. As my system is 64 bit i will choose here 64 bit, you can get know which system you are using by going to
This PCicon right click onPropertiesCheck under the system type.- Installer: Get the Installer
https://git-scm.com/downloads/win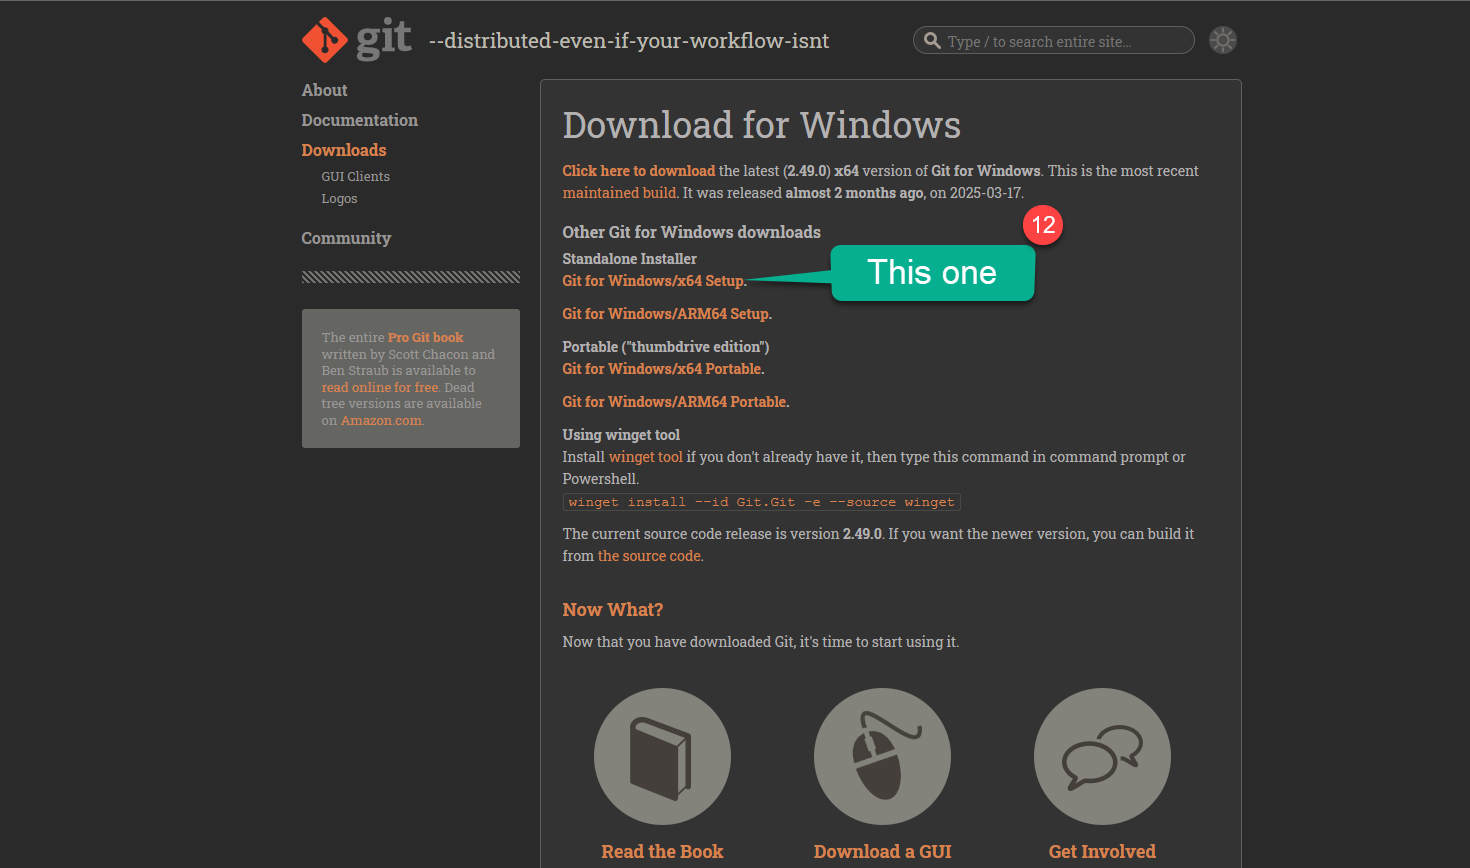
- Start Installation: Open the Installer, upon downloading.
https://git-scm.com/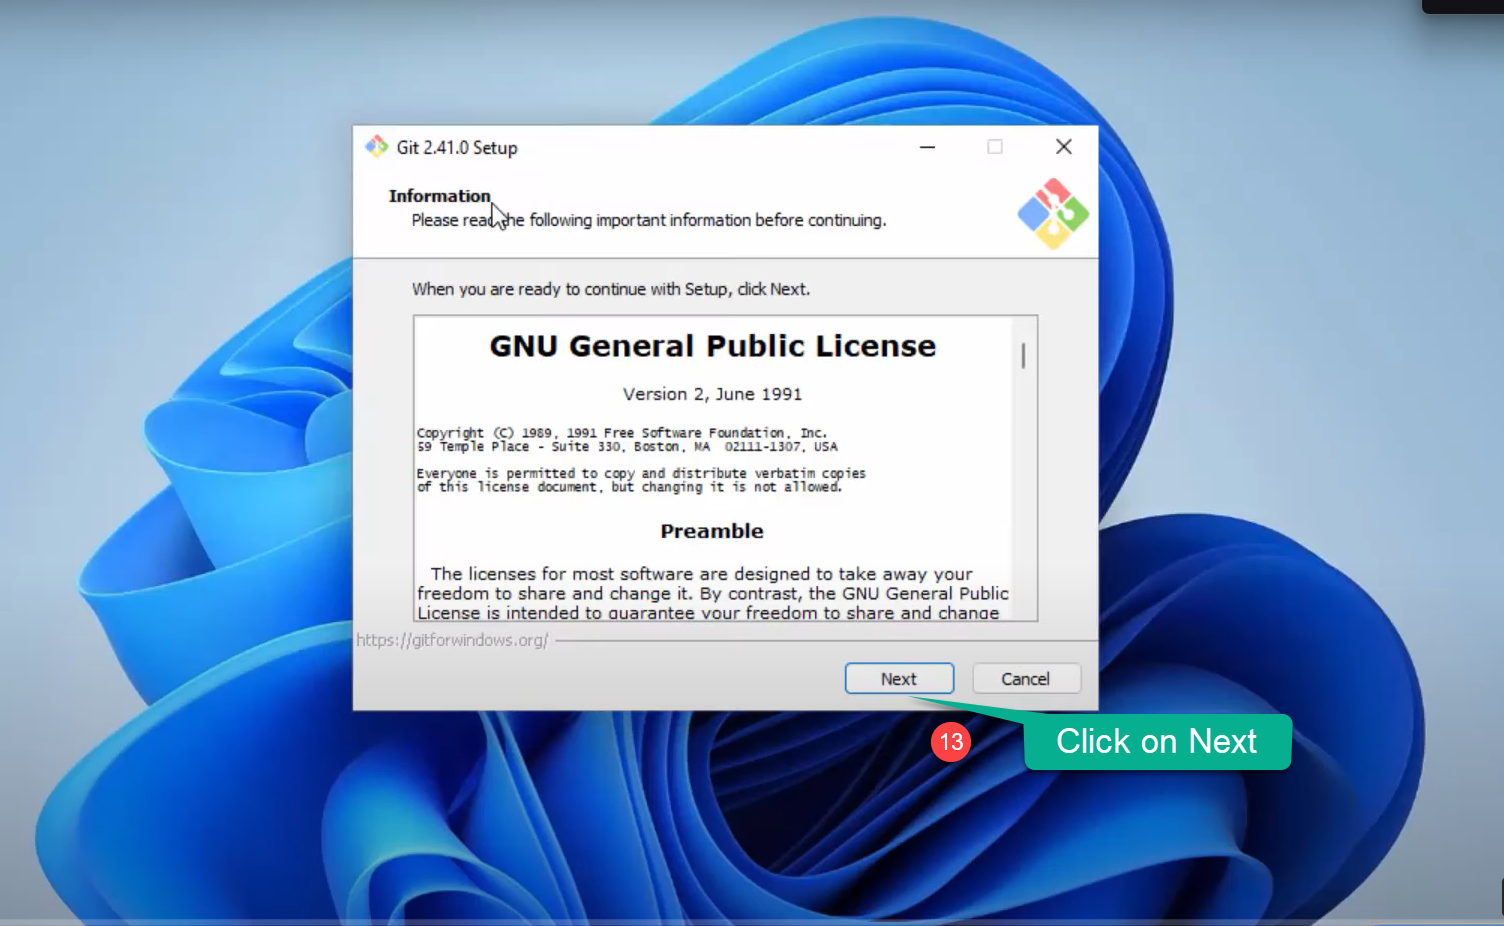
-
- The next screen click next on Public Licence.
-
- Choose the location as default and click on Next
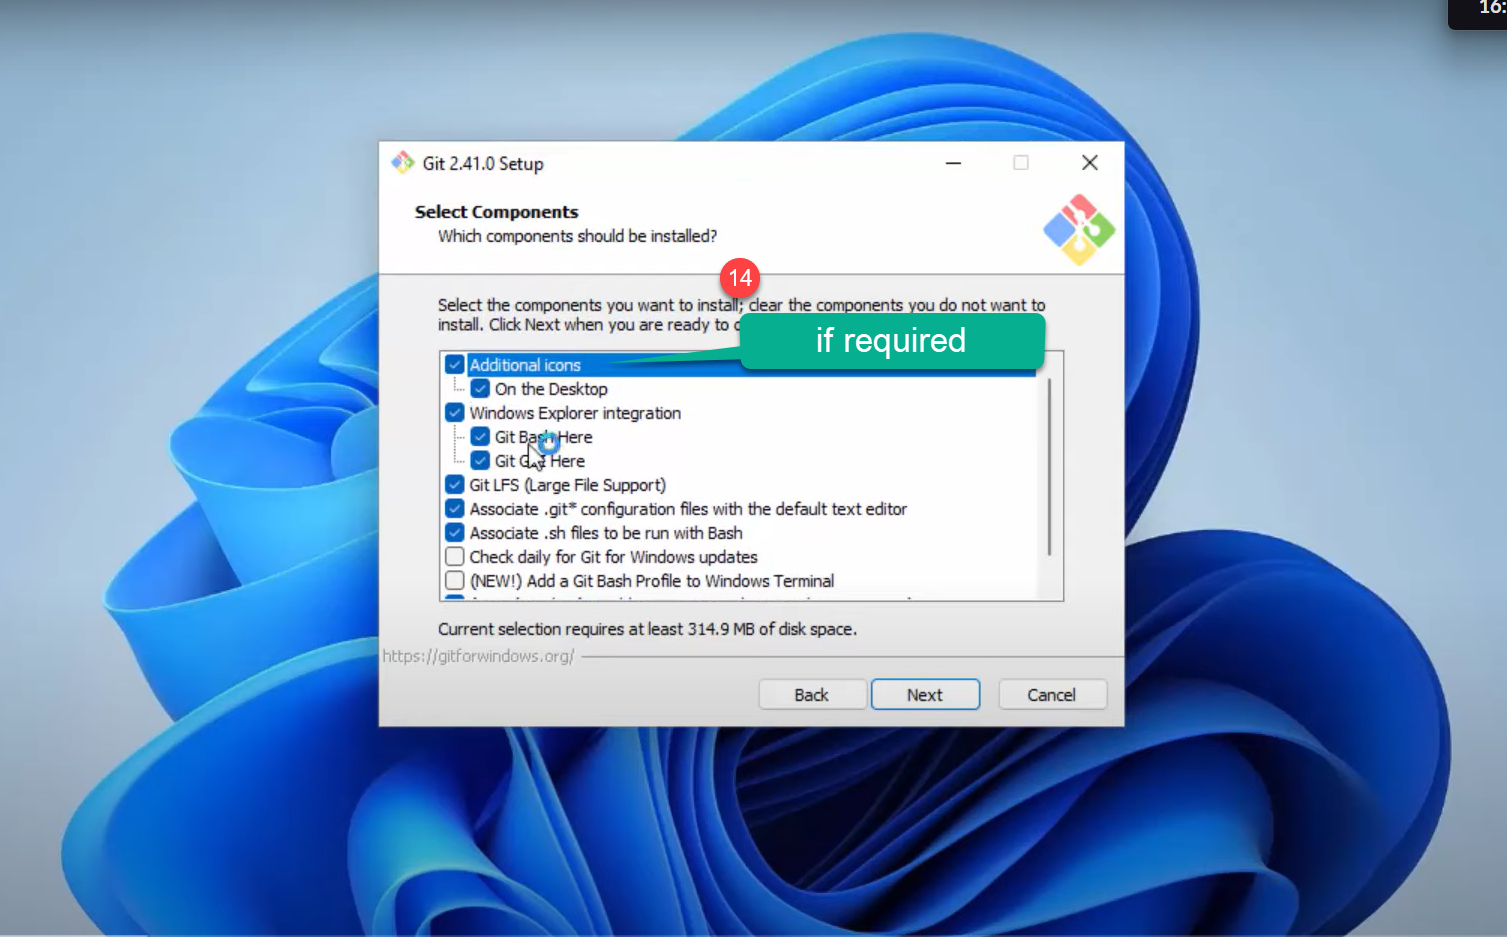
Step 3: Understanding the Interface.
Next step, Git Will ask you to install couple of components you can check on additional icons to add on Desktop and leave the rest as default and click on the Next.
-
- The next screen click next , make sure the start folder name is Git.
-
- Next option is to choose the default editor you can use your editor, im using visual studio code. or keep Vim as the default editor
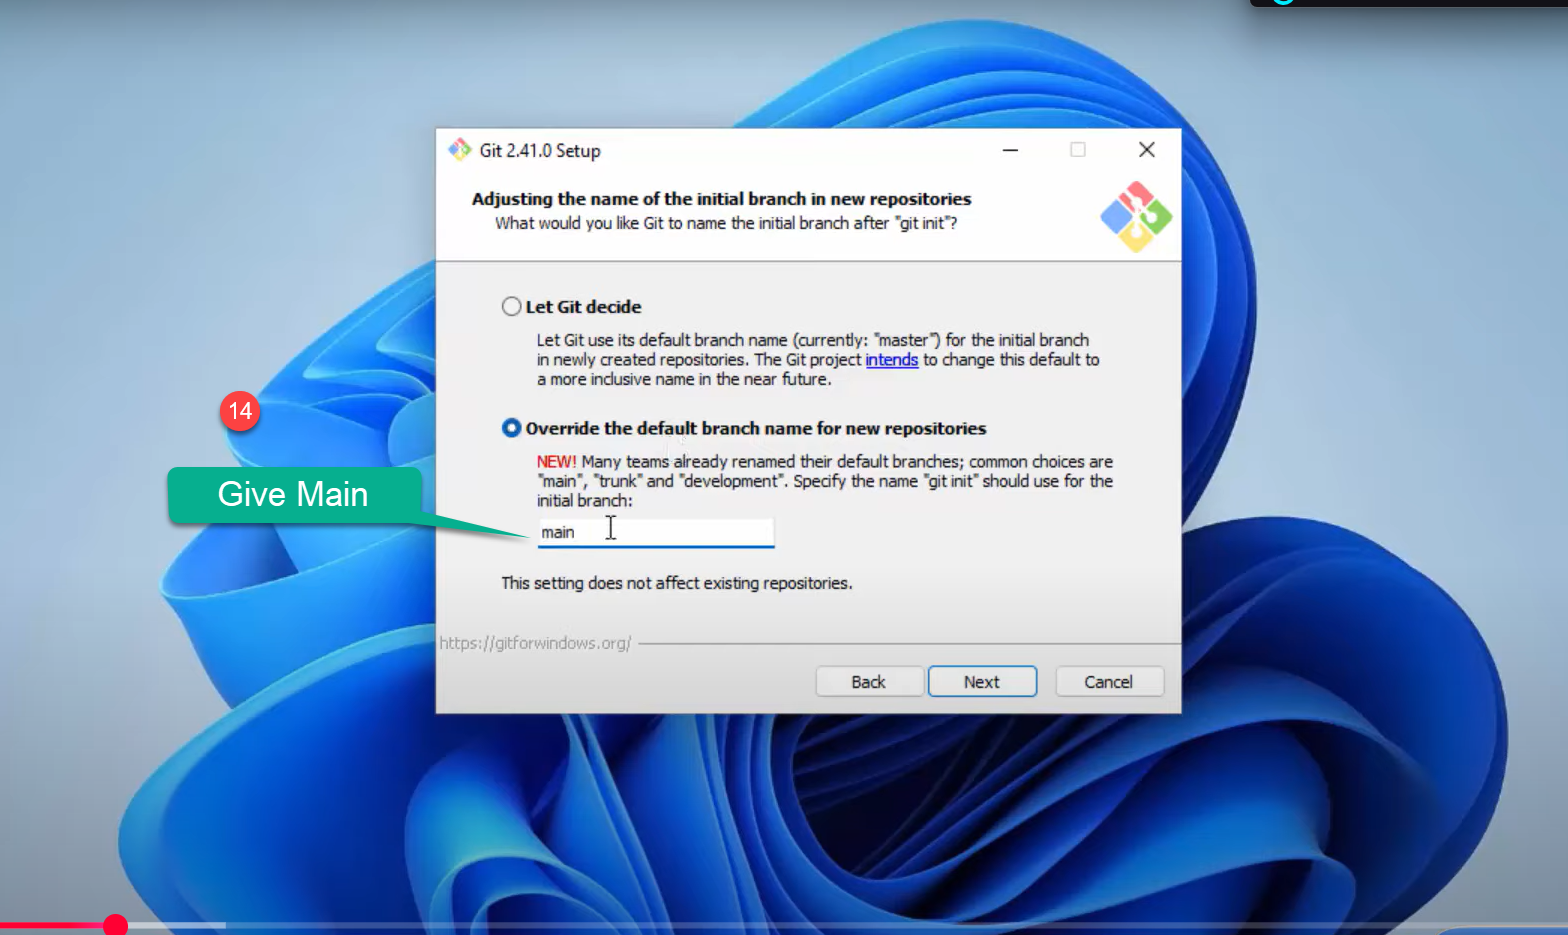
Step 4: Adjusting name of the repo setting in Git
This stage it will ask you to Choose a initial branch in new repository, it would be ideal approach to give the second option, as we move further it gives us flexibility to change the intial branch name , like main master, trunk.
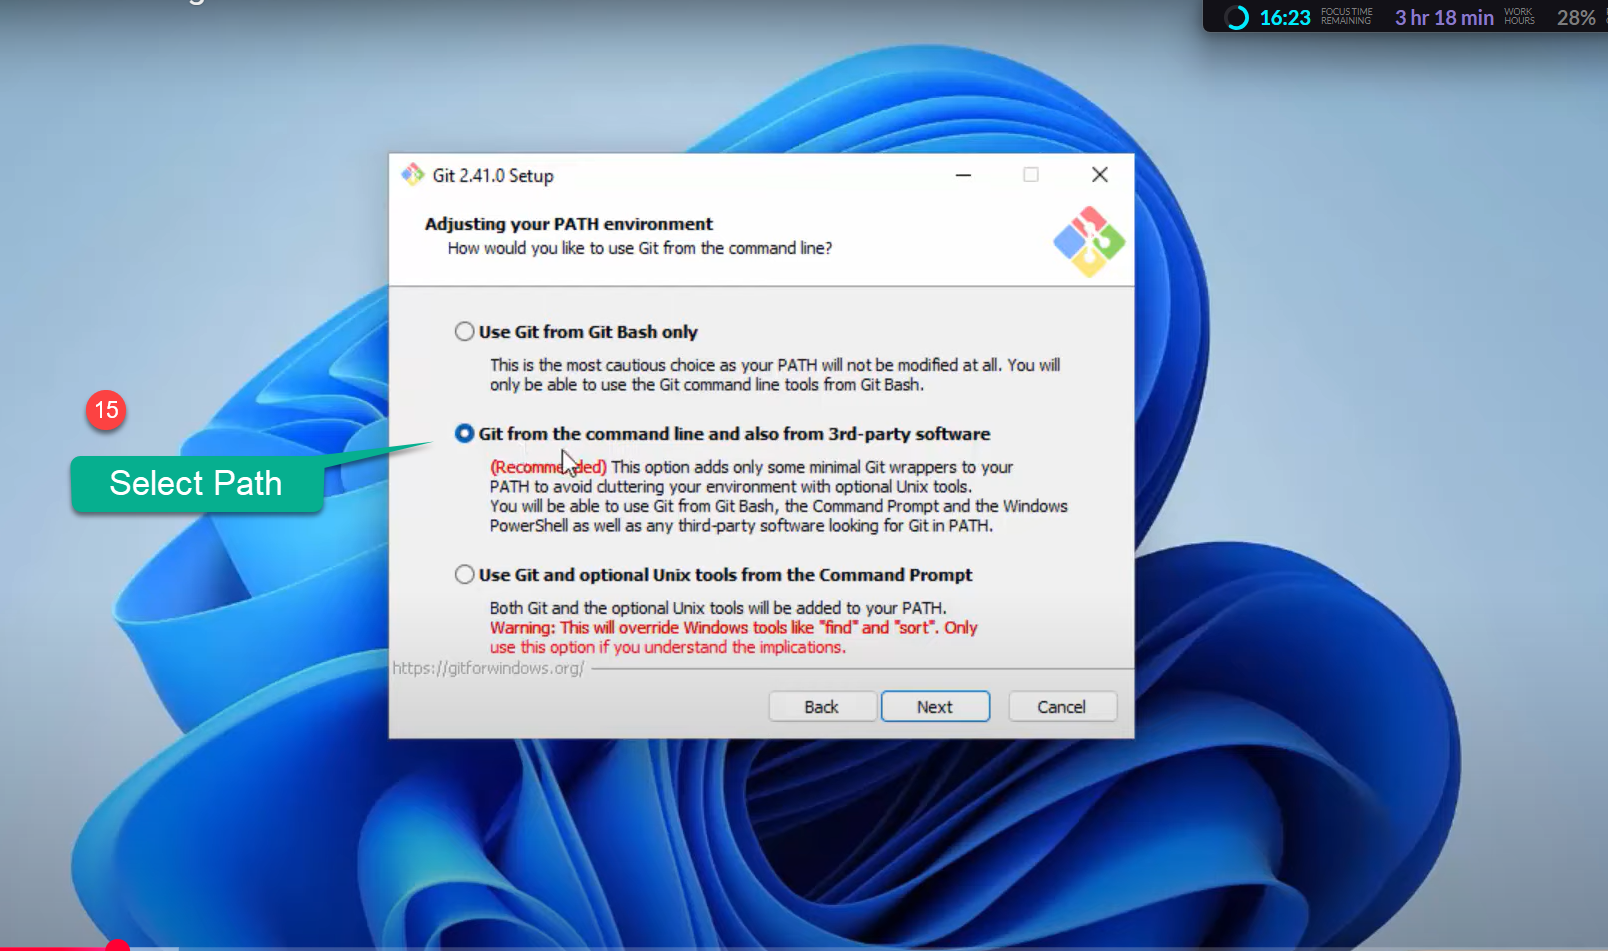
Step 5: Adjusting Your path environment
This is where we specify the path environment of git, just go with the recommened option which is 2.
-
1In the next screen choose the SSH Executable, use the deafault oneuse bundled OpenSSHwhich is the default option. -
2On the next, you will ask to configuring the line ending conversions, you gotta keep it default which is option 1. -
3Next step will be configuring the terminal emulator to use the git bash. Keep the default which is option 1. -
4Next option is to choose the defualt option to use the gith . use the default one which is the Fast- forward and merge option 1. -
5In the Credential helper choose theGit Credential Managerscreen. and click on Next. -
6Enable the extra option , click on theEnable the file system Cachingand click on the Next button. -
7In the Next step Screen it will ask you to enable the expiremental support , choose launch Git Bash and click on Install.https://git-scm.com/
Congratulations! The Git Setup has been finished and now you can launch the GitHub.
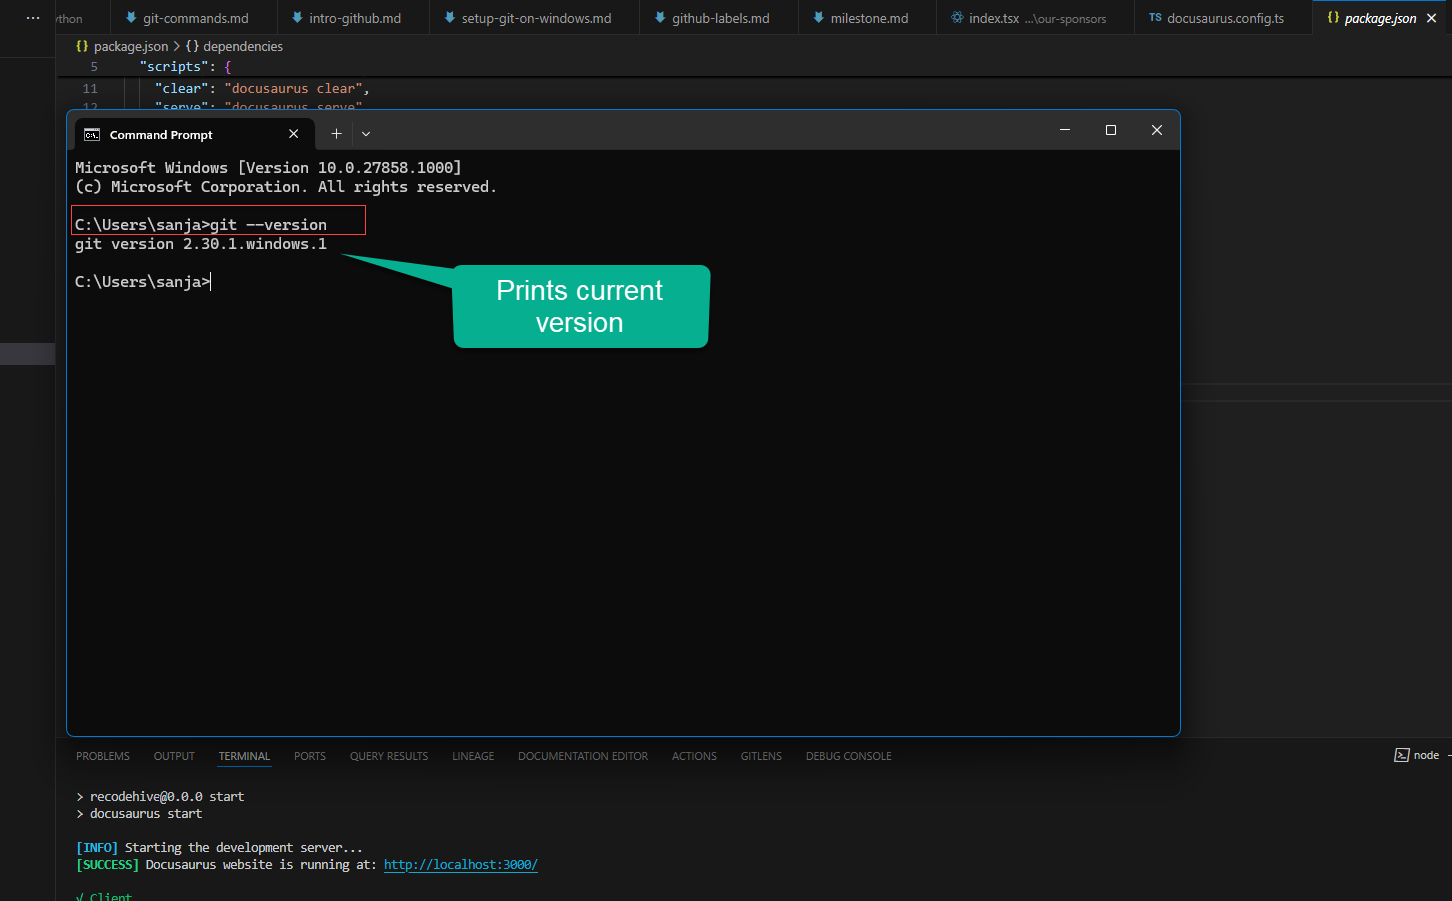
After that setup, you can see in your PC’s application list there are few new apps are added like ‘Git Bash,’ ‘Git GUI,’ ‘Git CMD.’ However, we will mostly use Git Bash for uploading our projects.
Execute the below command to see your current version of git in Git CMD or windows command promt. Git Installation on Windows is completed.
- Git Code
- Output on browser
git --version
Conclusion
In conclusion, I hope you enjoyed reading this article on “Setting up your Git environment?”. In the next post, will be discussing using Git to create a Repository and clone a project Github. Signing off Sanjay Viswanathan.